How do you remove cache memory From Windows 11 Browsers?
- 1 Understanding Cache Memory
- 2 What is the reason for clearing Cache Memory?
- 3 Clearing Cache in Microsoft Edge
- 3.1 Step 1. Open Microsoft Edge
- 3.2 Step 2: Open Settings
- 3.3 Step 3: Select Privacy, Search, and Services
- 3.4 Step 4: Remove the Browsing Data
- 4 Clearing Cache in Google Chrome
- 4.1 Step 1: Open Google Chrome
- 4.2 Step 2: Log in to Settings
- 4.3 Step 3: Security and Privacy
- 4.4 Step 4: Clean browsing data
- 5 Clearing Cache in Mozilla Firefox
- 5.1 Step 1: Open Mozilla Firefox
- 5.2 Step 2: Open Alternatives
- 5.3 3. Security & Security
- 5.4 Step 4: Clean Data
- 6 Clearing Cache in Microsoft Edge Chromium
- 6.1 Step 1: Launch Microsoft Edge Chrome
- 6.2 Step 2: Open Settings
- 6.3 Step 3. Privacy, Search, and Services
- 6.4 Step 4: Remove browsing data
- 7 Clearing Cache in Opera
- 7.1 Step 1. Launch Opera
- 7.2 Step 2: Log in to Settings
- 7.3 3. Security & Security
- 7.4 Step 4: Remove browsing data
- 8 Clearing Cache in Brave
- 8.1 Step 1. Open Brave Browser.
- 8.2 Step 2: Log in to Settings
- 8.3 Step 3: Adding Setups
- 8.4 Step 4: Remove the Browsing Data
- 9 Conclusion
Today Internet browsing has now become an essential aspect of our everyday life. When you’re doing research for a job, browsing, or being updated on current news, online browsers provide us with access to the world of online. When we use the internet, our browsers build up cache memory which could slow down your user experience. It can also result in issues like non-responsive pages or glitches. This article will take users through the procedure of eliminating cache memory in Windows 11 browsers, ensuring an improved and smooth browsing experience. Here is the info regarding the Chrome //Net-Internals/#DNS Cache Remover
Cache memory, though useful for speeding web browsing, by keeping frequently visited information, may be a problem if it gets accumulates too much. As time passes, the cached data could result in a slower speed of the browser, increased time to load, as well as problems. In this post, we’ll discuss the significance of clearing the cache memory of all of the Windows 11 browsers and provide step-by-step directions for the popular browsers, including Microsoft Edge, Google Chrome, Mozilla Firefox, Microsoft Edge Chromium, Opera, and Brave.
Understanding Cache Memory
What exactly is Cache Memory?
Cache memory is a short-term space within your internet browser that stores information including images, scripts, as well as other parts of the sites that you browse. The aim in using cache memory is to decrease loading times whenever you return to websites by retrieving information locally rather than downloading it from the internet server once more.
What is the significance of it?
While the cache memory greatly improves speed for browsing, it may cause problems if it is excessively loaded. The cache’s data that is outdated or damaged may cause sites to show improperly, hinder users from utilizing certain functions or cause security problems. Cleaning your cache on a regular basis is vital to ensure optimal browsing performance.
What is the reason for clearing Cache Memory?
Clearing cache memory has several advantages:
- Speedier Loading Time: Removing old cache information allows the browser to pull the latest content from websites and speeds up load times.
- Fixing display issues: The cache may be outdated and cause websites to not display properly. Cleaning the cache is a solution to these issues.
- Enhanced privacy: Clearing cookies and cached data will help to ensure your privacy online by eliminating any trace of your web browsing activities.
- Free Up Storage Cache files occupy the disk space. Clearing it will free up space in your gadget.
Let’s now dive into the step-by-step procedure for clearing cache memory across a variety of Windows 11 browsers.
Clearing Cache in Microsoft Edge

Step 1. Open Microsoft Edge
Start Microsoft Edge by clicking on its icon on the taskbar, or by searching for it using the Windows Start menu.
Step 2: Open Settings
Select the three horizontal dots at the top right corner of your browser window to access the menu. Scroll to the bottom and choose “Settings.”
Step 3: Select Privacy, Search, and Services
In the sidebar to the left, go to “Privacy, Search, and Services.”
Step 4: Remove the Browsing Data
Scroll to the “Clear browsing information” section. Click “Choose which data to delete.” Check to see the option “Cached images and documents” is chosen, and select “Clear.”
The cache memory of Microsoft Edge is now cleared and this will improve your speed and performance of your browser.
Clearing Cache in Google Chrome
Step 1: Open Google Chrome
You can open Google Chrome by clicking on its icon located in the taskbar, or by searching for it within the Windows Start menu.
Step 2: Log in to Settings
Simply click on the three dots that are vertically placed on the upper-right side of the browser’s window to launch the menu. Click on “History,” and then select “History.”
Step 3: Security and Privacy
From the left sidebar go to “Privacy and Security.”
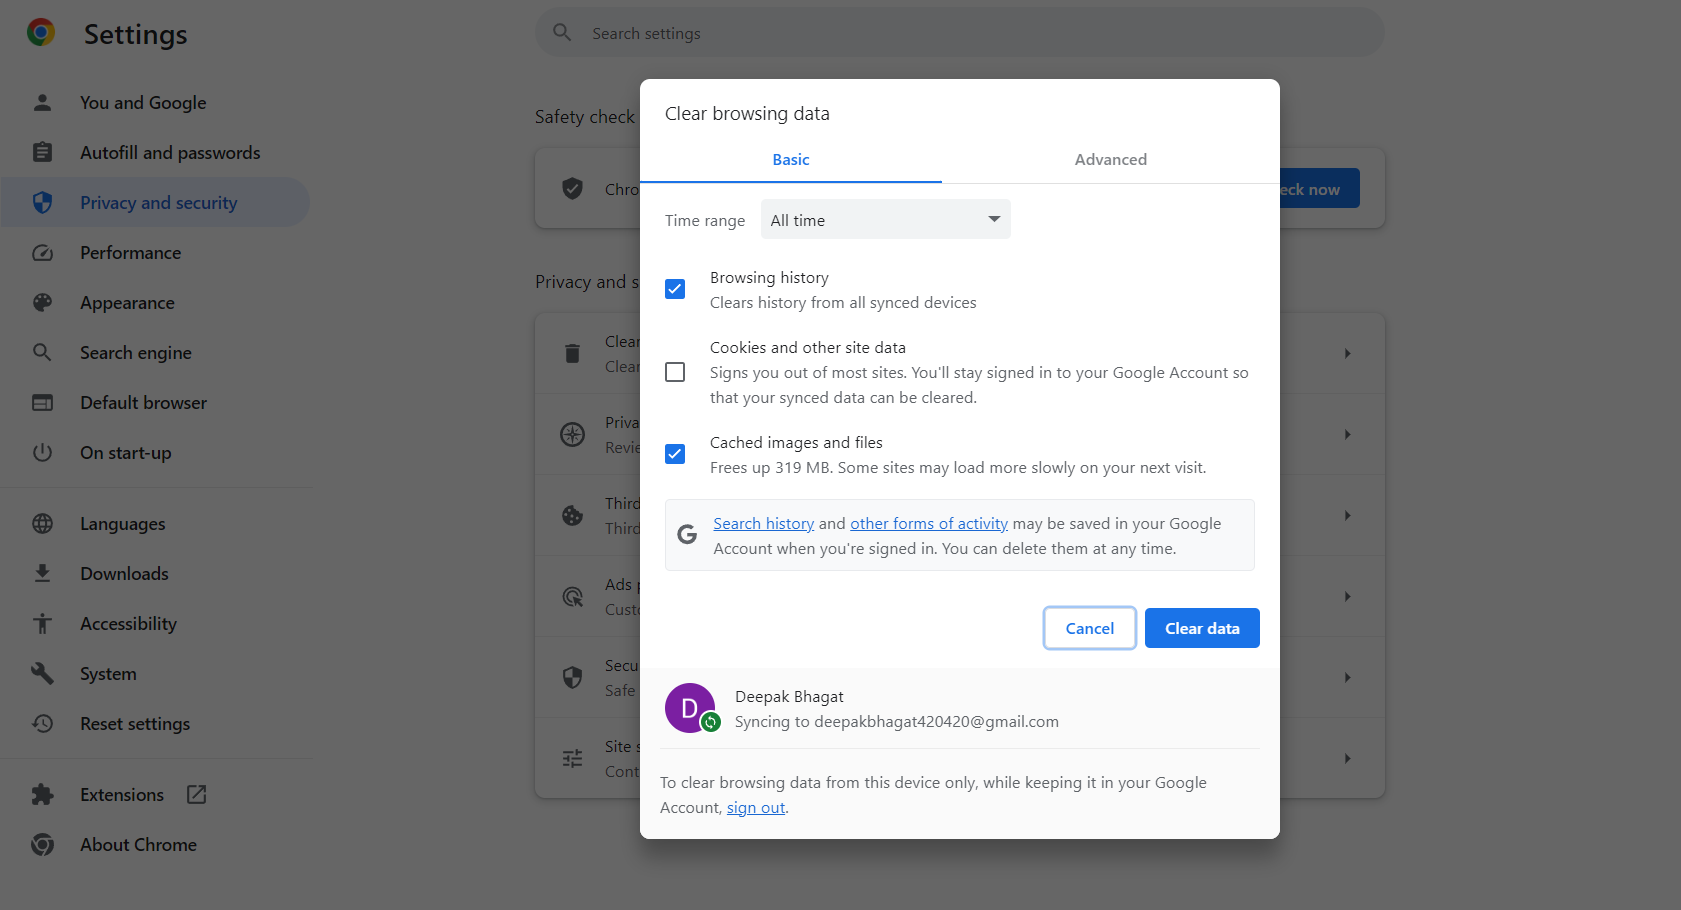
Step 4: Clean browsing data
In”Privacy and Security,” click on the “Privacy and Security” section, click “Clear browsing information.” Check to see you select “Cached images and documents” is chosen, after that, click “Clear information.”
Your cache memory within Google Chrome is now cleared and this will improve your browsing performance.
Clearing Cache in Mozilla Firefox
Step 1: Open Mozilla Firefox
Start Mozilla Firefox by clicking on its icon on the taskbar, or by searching for it on the Windows Start menu.
Step 2: Open Alternatives
Select the three horizontal lines that are in the upper right corner of your browser window to display the menu. Scroll down, and click “Options.”
3. Security & Security
On the left-hand sidebar, select “Privacy and Security” in the left sidebar.”
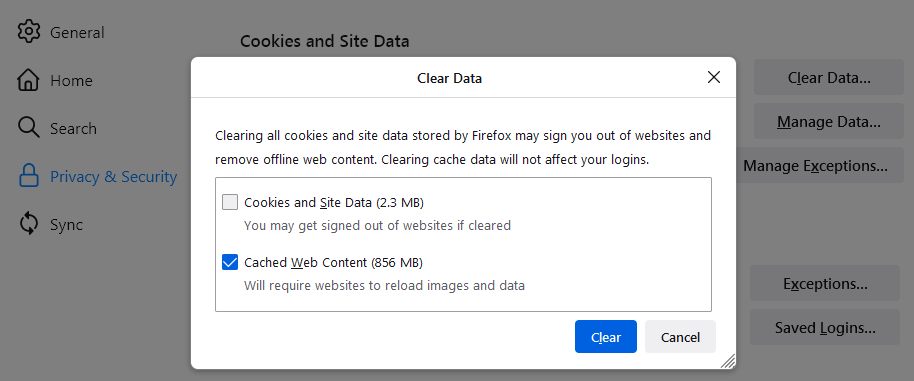
Step 4: Clean Data
In the “Cookies and Site Data” section, select “Clear the Data.” Make sure you select “Cached Web Content” is chosen, then hit “Clear.”
The cache memory you have in Mozilla Firefox is now cleared and this will improve your browser’s performance.
Clearing Cache in Microsoft Edge Chromium
Step 1: Launch Microsoft Edge Chrome
Then, launch Microsoft Edge Chromium by clicking on its icon within the taskbar, or by searching for it on the Windows Start menu.
Step 2: Open Settings
Select the three horizontal dots located in the upper-right corner of your window of the browser to access the menu. Scroll down, and then select “Settings.”
Step 3. Privacy, Search, and Services
On the left-hand sidebar, go to “Privacy services,” search, and privacy services.”
Step 4: Remove browsing data
Scroll to the “Clear browsing information” section. Select “Choose the items to be cleared.” Make sure the option “Cached images and documents” is selected. select “Clear.”
The cache memory of Microsoft Edge Chromium is now removed, which results in better browsing performance.
Clearing Cache in Opera
Step 1. Launch Opera
Open Opera by clicking on its icon on the taskbar, or by searching for it on the Windows Start menu.
Step 2: Log in to Settings
Click the “O” icon located in the upper-left corner of your browser to display the menu. Scroll down, and then select “Settings.”
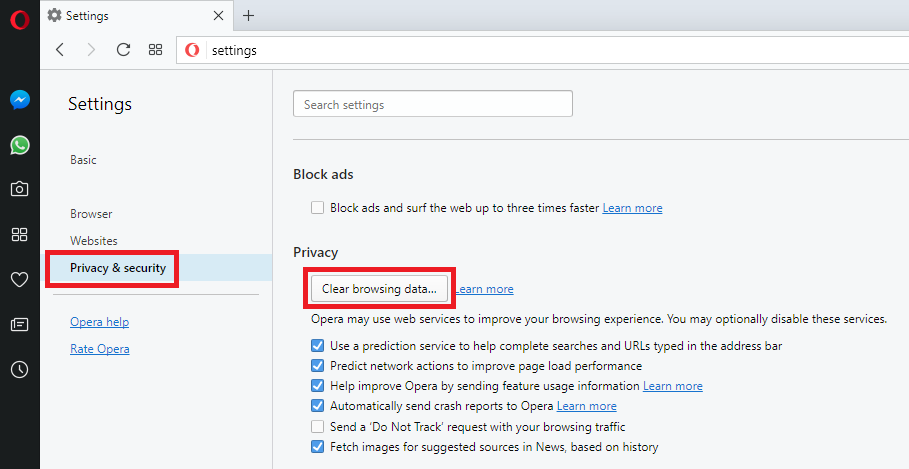
3. Security & Security
On the left-hand sidebar, you can click “Privacy and Security” in the left sidebar.”
Step 4: Remove browsing data
In”Privacy,” in the “Privacy” section under “Privacy,” click “Clear browsing information.” Make sure the option “Cached images and documents” is selected. select “Clear information.”
The cache memory of Opera is cleared now, leading to improved performance in your browser.
Clearing Cache in Brave
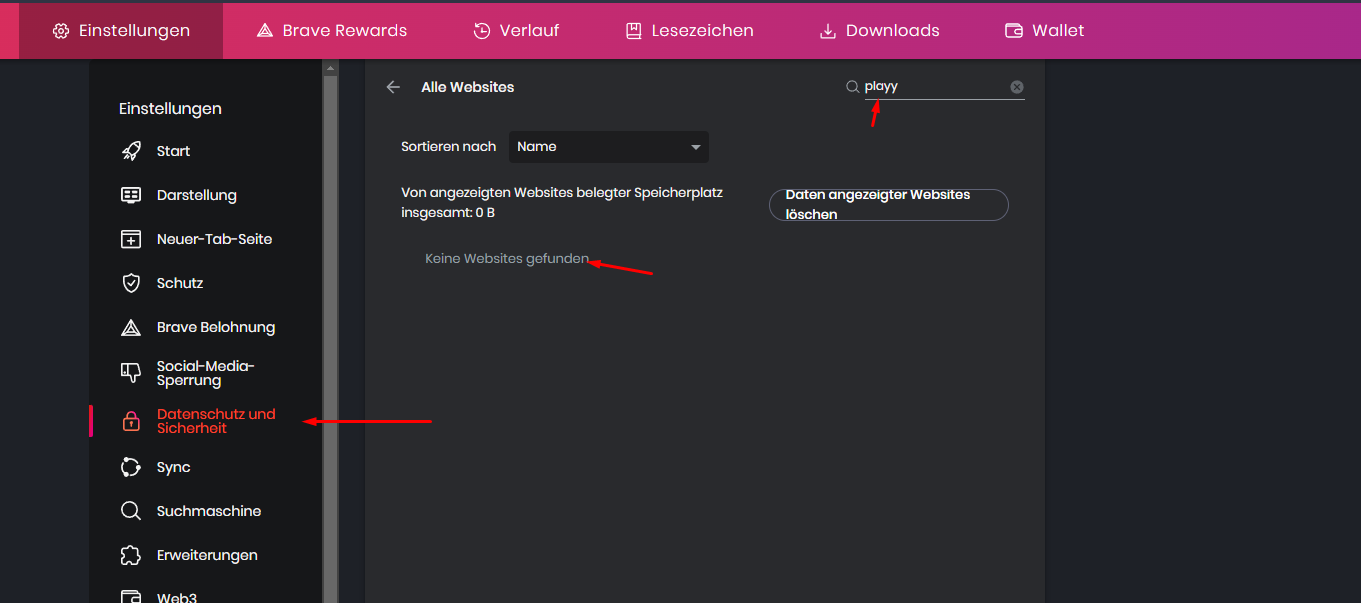
Step 1. Open Brave Browser.
Launch Brave by clicking the icon on the taskbar, or by searching for it within the Windows Start menu.
Step 2: Log in to Settings
Select 3 horizontal vertical lines that are located in the top right corner of your browser to launch the menu. Scroll to the bottom and choose “Settings.”
Step 3: Adding Setups
From the left sidebar go to “Additional options.”
Step 4: Remove the Browsing Data
In”Privacy and Security,” click on the “Privacy and Safety” section, and select “Clear browsing information.” Make sure you select “Cached images and documents” is selected. after that, click “Clear the data.”
The cache memory of Brave is cleared now, which will improve the performance of your browser.
Conclusion
Cleaning cache memory within the cache memory of your Windows 11 browsers is a straightforward and efficient way to provide a smoother and more efficient browsing experience. When you clean your cache regularly and removing cache data, you will avoid problems with performance and have an improved security and privacy-conscious browsing experience.