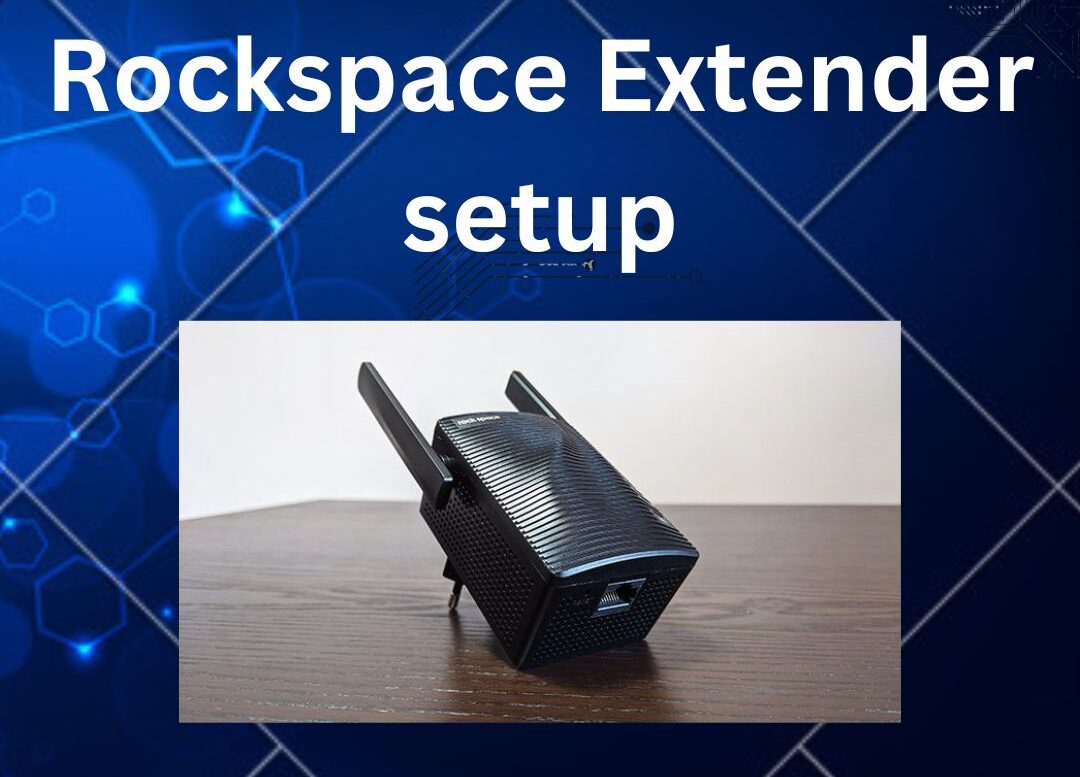
Rockspace WiFi Extender Setup
Welcome to the comprehensive guide for enhancing your WiFi coverage and signal strength with the Rockspace WiFi Extender. We’re here to help you with the Rockspace WiFi extender setup successfully by providing clear and concise instructions.
The Rockspace WiFi extender is a valuable tool for improving signal reception in areas with weak WiFi coverage. By following the instructions below, you can easily boost your connectivity. Let’s get started!
Manual Configuration of Rockspace WiFi Extender:
Rockspace WiFi extender setup manually involves several steps. Please note that the exact steps may vary depending on your extender’s model. Here’s a step-by-step manual setup guide:
- Position the extender within the coverage area of your existing WiFi router for optimal signal strength.
- Plug the extender into an electrical outlet and wait for the LED indicator to turn a steady green.
- Access the WiFi settings on your device and connect to the “Rockspace_Extender” network.
- In your web browser’s address bar, enter “ap.setup.”
- Access the extender’s settings using the default login credentials, which are typically “admin” for both the username and password.
- Follow the on-screen instructions to select and connect to your home WiFi network, and save your configurations.
Please keep in mind that some extender models might have slight variations in their setup process, so consult the specific setup guide provided with your extender for more details.
Rockspace WiFi Extender Setup Using WPS:
Alternatively, you can set up your Rockspace extender using the WPS (WiFi Protected Setup) method for a quicker and simpler process. Follow these instructions:
- Plug in the extender and connect it to a power outlet.
- Press the WPS button on the extender.
- Activate the WPS feature on your router within a two-minute timeframe.
- Wait for the WPS LED indicator to become steady.
- The extender will connect to your WiFi network.
Please note that not all router or extender models support WPS.
Factory Reset on Rackspace WiFi Extender:
Performing a factory reset will return your Rockspace Extender to its original configuration, erasing all customized settings. Here’s a general step-by-step guide for this procedure:
- Locate the reset button or hole on the extender.
- Press and hold the reset button for about ten seconds using a paper clip.
- Once the LEDs start to flash, indicating a successful reset, release the button.
After a factory reset, you will need to reconfigure the extender using either the WPS method or manual configuration. Consult your Rockspace Extender model’s user manual for any unique instructions or differences in the reset procedure. If you require further assistance, reach out to Rockspace’s customer support.
Rockspace Extender Firmware Update:
Updating the firmware on your Rockspace Extender is essential for adding new features and enhancing security and performance. Here are general instructions for firmware updates:
- Check the extender’s firmware version by logging into the online interface.
- Visit the official Rockspace website to download the latest firmware for your specific extender model.
- Go to the firmware update section in the extender’s settings and upload the downloaded file.
- Allow the update to complete. The extender will restart after installing the updated firmware.
Please note that these steps provide a general guideline, and the exact steps may vary for your specific Rockspace Extender model. Always refer to Rockspace’s official user manual or support resources for precise instructions tailored to your device.
Troubleshooting Steps:
When troubleshooting issues with your Rockspace WiFi Extender setup, the approach may vary depending on the problem. Nevertheless, you can use the following common troubleshooting procedures:
- Ensure the extender is properly connected to the network and powered on.
- Consider repositioning the extender to improve signal coverage.
- If issues persist, perform a factory reset and reinstall the extender.
- Keep your firmware up to date.
- Avoid placing the extender near electronics that interfere with signal reception.
- Check for connectivity problems with your main router.
By following these instructions, you’ll gain the necessary skills to confidently establish, diagnose issues, and upkeep your Rockspace WiFi extender.


